Construction Hoarding Boards: What to Plan Before Installation
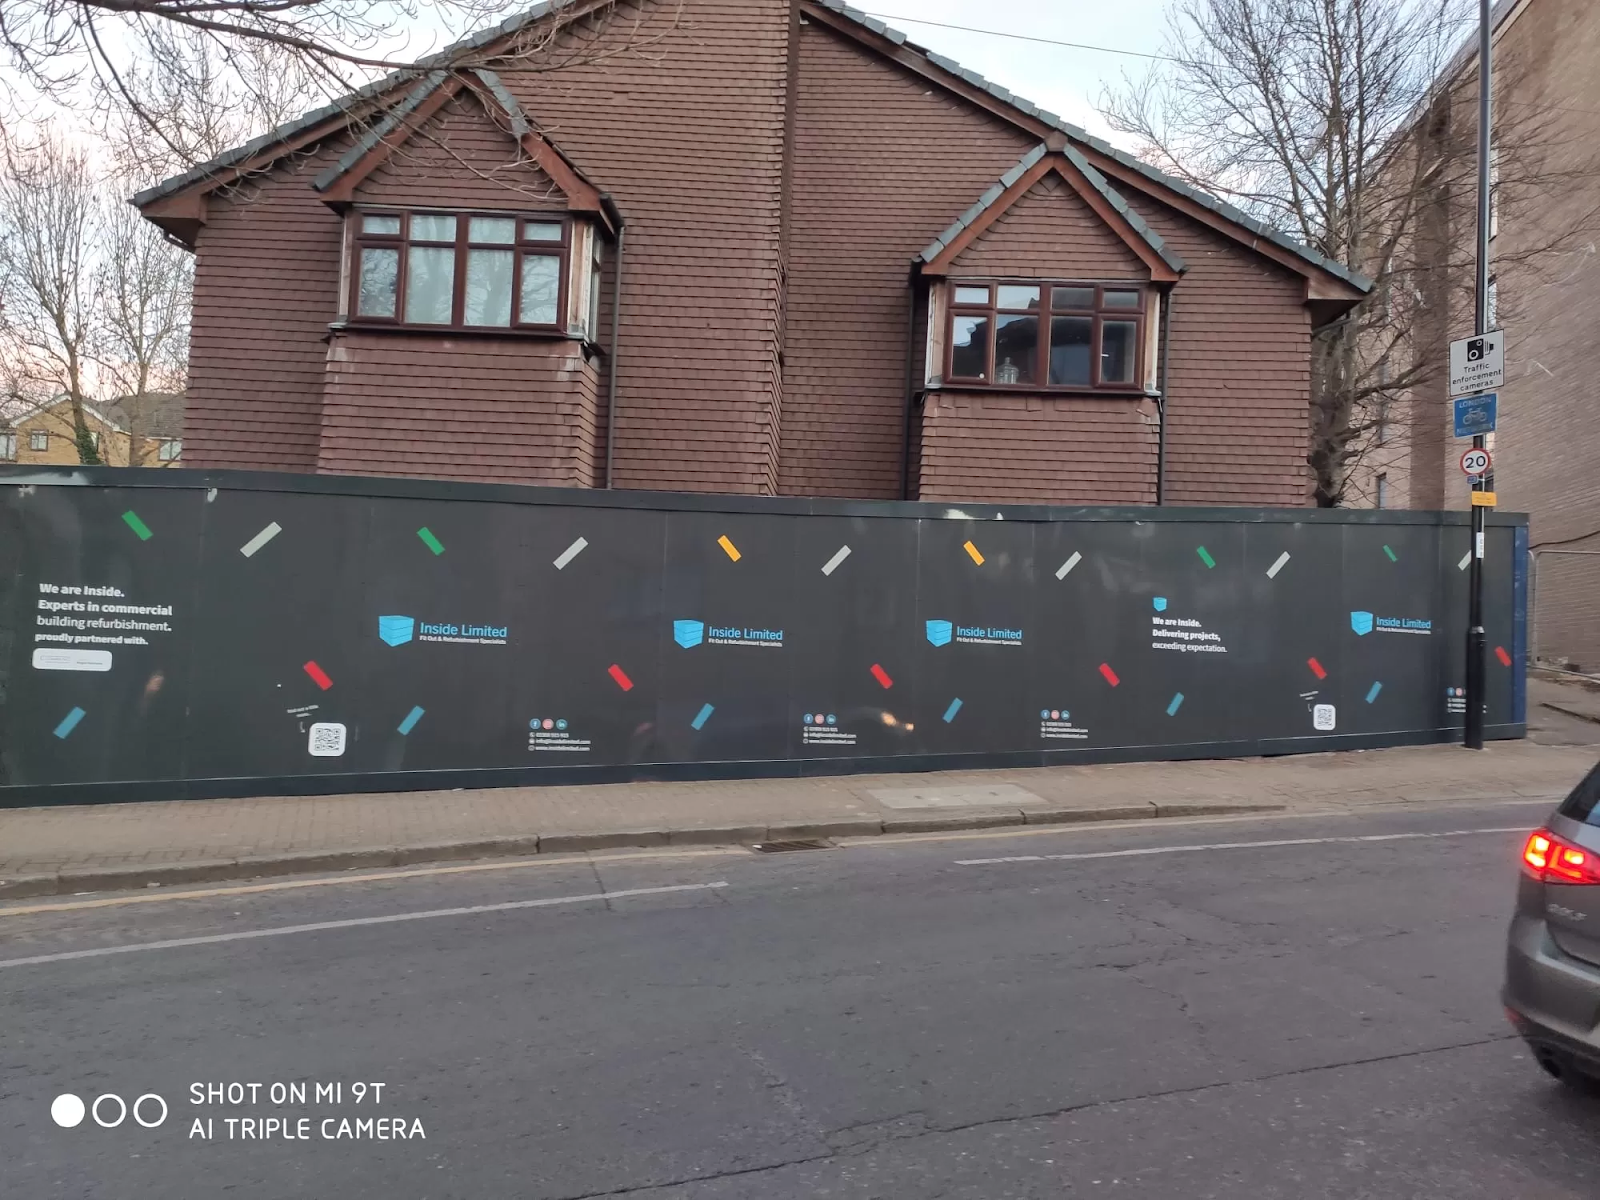
A perimeter that goes up smoothly almost always has one thing in common: somebody did the thinking before the first post was concreted in. Rushed installations tend to show it, with uneven runs, gates in the wrong place and graphics that never quite line up. Careful planning, by contrast, saves money, keeps neighbours onside and gives the site a tidy face from day one. Below are the questions worth answering in advance, grouped in the order most project teams tackle them, so that nothing slips through the gaps.
What is the Perimeter Actually For?
Every site needs security and public protection, but the priorities shift from job to job. A city-centre office refit may care most about appearance and pedestrian flow, while a rural housing site might focus on deterring theft. Be clear about the main purpose before choosing anything, because it shapes the height, material and finish.
Purpose also decides how much printed space you need. If marketing is part of the brief, plan for long, uninterrupted runs where graphics can flow from one panel to the next.
Where Will It Run, and What Is in the Way?
Survey the line
Walk the full route with a tape measure and a camera. Note drainage covers, street furniture, trees with protection orders, utilities and changes in ground level. Each one affects post positions and how panels need to be cut.
Plan access points
Decide early where vehicle gates, pedestrian doors and emergency exits will go. In hoarding construction, retrofitting a gate into a finished run is one of the most common and expensive changes a site can make.
Which Board Suits the Job?
The right material depends on duration, budget and how polished the finish needs to be. Here is a quick comparison of the most common choices:
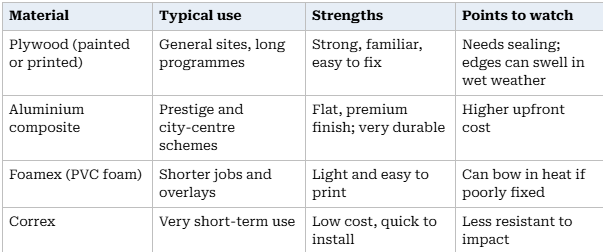
Many contractors now choose pre-printed hoarding boards for street-facing elevations and plain painted timber on rear boundaries, which keeps costs sensible without compromising the public face of the site. For a deeper dive into how each option performs once it is up, there is a plain explainer, Hoarding Boards Explained: Materials, Uses and Design Considerations, that is well worth bookmarking.
How Will It Stand Up?
Foundations and bracing
Posts are usually concreted in, bolted to existing hardstanding or held by ballast blocks where digging is not allowed. Bracing must sit on the site side and never protrude onto a public footway.
Wind loading
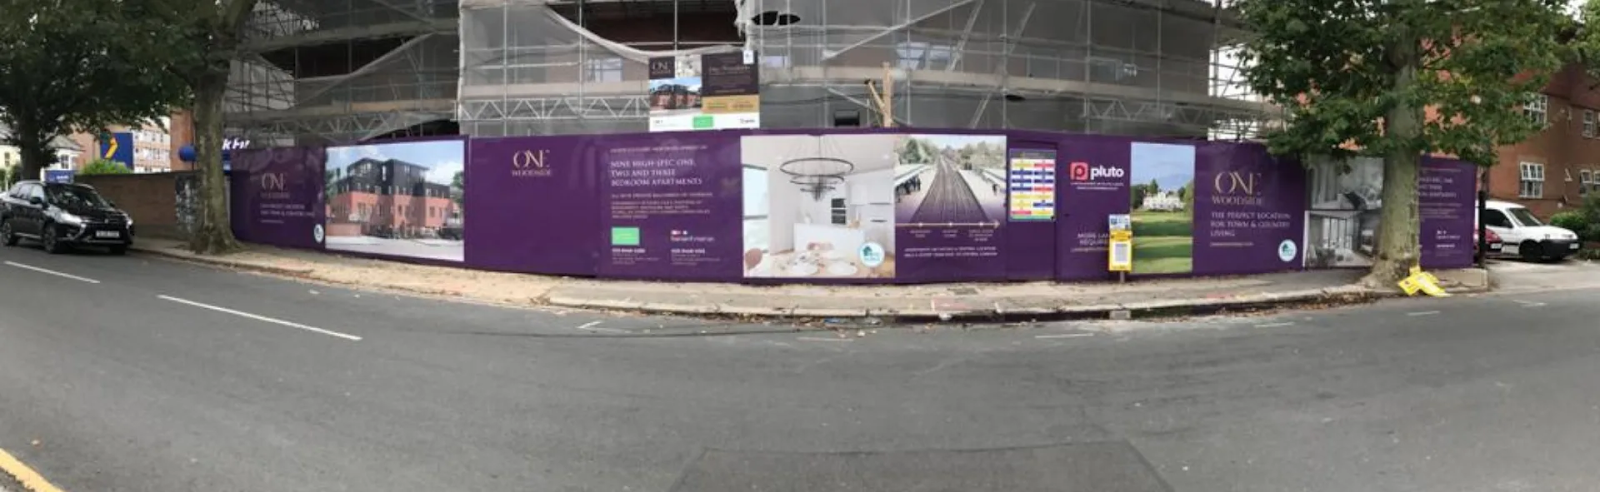
Solid panels catch the wind. For exposed or tall runs, ask a temporary works designer to check the design, particularly where graphics create one long solid face. Make sure the temporary works design paperwork is filed well before installation day.
What Will the Public See?
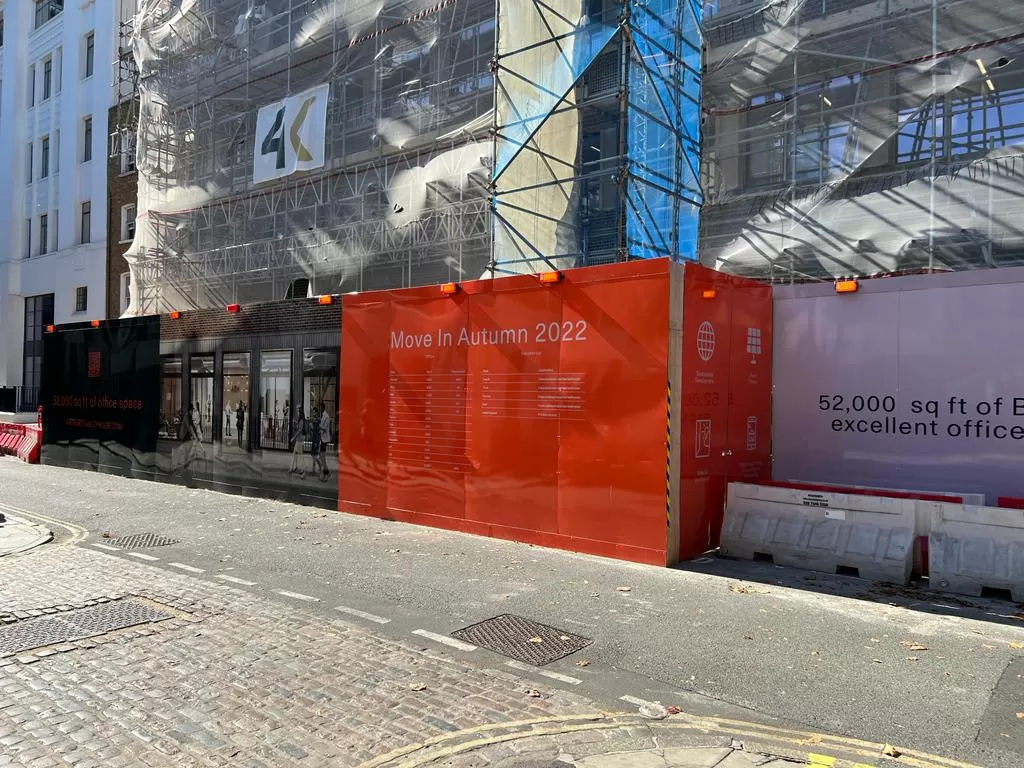
Decide on graphics before anything is fixed, not afterwards. Printing directly onto panels gives the cleanest finish, while vinyl applied on site is easier to change later. Keep artwork to a simple grid that matches the panel joins, so a headline never breaks awkwardly across a seam. On any run facing a busy street, an anti-graffiti laminate is a sensible extra.
Well-planned hoarding boards also carry the practical details: the principal contractor's name, a 24-hour contact number and clear directions for pedestrians.
What Paperwork is Needed?
On or over a public highway, a licence from the local authority is normally required, along with public liability insurance and sometimes a traffic management plan. Under the CDM Regulations 2015, the principal contractor is responsible for securing the site boundary, so the perimeter should feature in the construction phase plan. If the scheme sits in a conservation area, check whether advertisement consent applies to branded graphics.
Building these approvals into the programme early keeps the hoarding construction timeline realistic and avoids a crew standing idle while a permit is chased.
Final Thoughts
Installation day should be the easy part. By the time a crew arrives, the purpose, route, materials, structure, graphics and approvals ought to be settled and signed off, leaving nothing to improvise on a busy pavement. That preparation shows in the finished result: straight lines, sensible gates and a clean, readable frontage that serves the project for months. If you would like help turning a site plan into a practical specification, Hoarding Print Company is happy to talk through the options and suggest what will work best for your programme.


Comments
Post a Comment