5 Checks Before Ordering Temporary Hoarding, Construction Banners

Site perimeters do far more work than most people give them credit for. They keep the public safe, protect materials and equipment, and quietly tell everyone walking past who is building what. Yet the print side of things is often left until the last minute, squeezed in between scaffold deliveries and pre-start meetings. That rush is where costly mistakes creep in: the wrong material, a missing licence, artwork that blurs from across the road. Before you place an order, it pays to slow down and run through five practical checks.
Why the Print Side Deserves Proper Attention
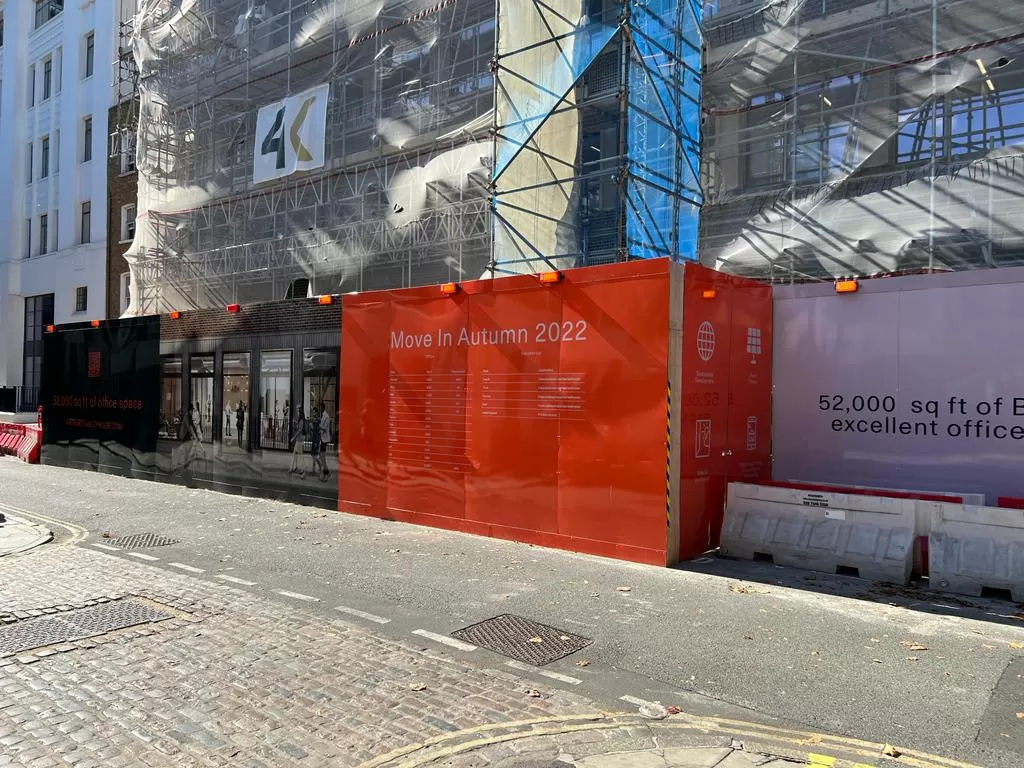
On most UK sites, the perimeter goes up before almost anything else, and it often stays in place for months. It is the first thing neighbours, passers-by and the local council notice, so it shapes their impression of the whole project from day one.
Getting temporary hoarding wrong rarely causes a disaster, but it does cause friction. Panels fade by spring, banners tear in the first winter storm, or the highways team rings to ask why a licence was never in place. Each of those problems costs time and money that could easily have been avoided at the ordering stage.
Check 1: Are Your Permissions in Order?
Before anything is printed, make sure the structure itself is allowed to stand where you plan to put it.
Licences for the public highway
If your perimeter will sit on a pavement or any part of the public highway, you will usually need a hoarding licence from the local highway authority under the Highways Act 1980. Councils set their own fees, notice periods and conditions, so apply early. Check whether lighting, reflective strips or a covered walkway are required as part of the approval.

Consent for branded displays
Panels carrying company logos, development names or marketing messages count as advertisements. Many fall under deemed consent, but size, illumination and conservation-area status can change that. A quick conversation with the planning department now is far easier than taking graphics down later.
The paperwork is only one part of the picture, of course. For a broader look at the questions contractors should be asking before any site perimeter goes up, from security to public safety, it is well worth reading a separate guide on what to weigh up when planning temporary construction hoarding.
Check 2: Is the Material Right for the Job?
The best material depends on how long the site will run, how exposed it is and what the graphics need to achieve.
Rigid boards for longer programmes
For projects lasting several months or more, printed hoarding panels made from aluminium composite or good-quality Foamex give a clean, flat finish. They resist knocks and graffiti better than cheaper options. Correx can work well for short, budget-conscious jobs, though it tends to show wear sooner.
Flexible options for scaffolding and fencing
Scaffold wraps, Heras fencing and wide elevations are better suited to construction banners. Choose mesh for anything exposed to strong wind, since the perforations let air pass through and reduce strain on the fixings. Solid PVC gives sharper, more vibrant print but is best kept to sheltered spots or lower heights.
Fire performance
Ask for fire-retardant certification where the site demands it. This matters most in city centres, on scaffolding near occupied buildings, or wherever the principal contractor's fire plan specifies it.
Check 3: Will the Artwork Work From Across the Street?
Hoarding is viewed from a distance, often by someone driving past or walking quickly. Design for that reality rather than for how the file looks on a laptop screen.
Keep messages short: a single headline, a logo and one clear call to action such as a phone number or web address. Use high-contrast colours and lettering large enough to read from at least ten metres away. Supply artwork at the correct scale, in CMYK, with bleed and with fonts outlined or embedded.
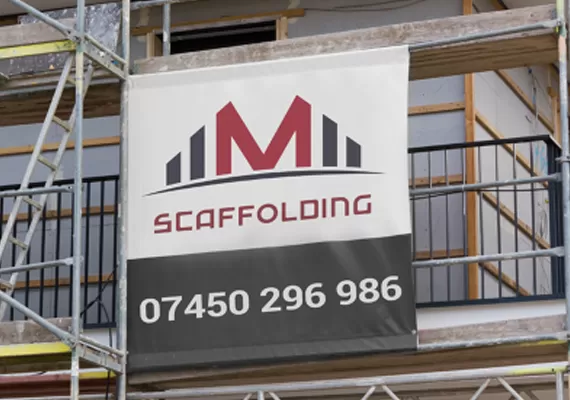
It also helps to treat the perimeter as part of your wider site branding. Keep colours and tone consistent with signage, vehicle livery and any construction banners on the scaffold above. That consistency makes a site look organised, which matters to clients and neighbours alike.
Check 4: Have You Measured Twice?
It sounds obvious, but measurement errors are among the most common reasons for reprints.
Panel and run sizes
Measure the full run, then note any gates, corners, changes in level and access points. Standard 2440 x 1220 mm panels suit most timber frameworks, but bespoke runs may need trimmed panels to avoid awkward gaps.
Fixings and finishing
Tell your printer exactly how the graphics will be attached. Banners need hemming and eyelets at sensible spacings, usually around every 500 mm, while rigid panels may need pre-drilled holes or a rail system. A clear site plan with photos means your temporary hoarding arrives ready to fit, without operatives improvising on the day.
Check 5: How Long Does It Need to Last?
Think about the full life of the project, not just the first week on site.
A six-week refurbishment and an 18-month new build need very different specifications. For longer jobs, ask about UV-resistant inks and anti-graffiti laminates, which keep graphics looking fresh through bright summers and damp British winters alike.
Plan for change, too. Development names, sales messages and completion dates often evolve as a scheme progresses. A modular layout lets you swap individual panels or reprint a few heavy-duty PVC banners rather than replacing the entire run. It is also sensible to keep a couple of spare construction banners in the site cabin, so a damaged section can be replaced the same day instead of leaving a scruffy gap.
A Quick Pre-Order Checklist
Run through these points before you sign anything off:
- Highway licence applied for, with conditions noted
- Advertisement consent checked with the planning department
- Material chosen to suit exposure, duration and fire requirements
- Artwork proofed at scale and tested for legibility from a distance
- Full measurements, including gates and corners, sent to the printer
- Fixing method confirmed and finishing specified
- Spares and a plan for future updates in place
Working through this list before you confirm a temporary hoarding order keeps the programme moving and saves awkward conversations further down the line.
Final Thoughts
None of these checks takes long, but together they save a great deal of hassle once the site is live. Confirm the paperwork, choose materials for the conditions, design for distance, measure carefully and plan for the whole programme rather than just the opening week. Get those right and your perimeter becomes an asset instead of an afterthought. If you would like a second pair of eyes on sizes, finishes or artwork, the team at Hoarding Print Company is always happy to talk things through before you commit to an order.

Comments
Post a Comment